MAME Cabinet
Ever since I was a child I have been a huge fan of the amusement arcades. Living by the coast as I was growing up, there was always plenty of opportunity to visit the arcades whenever I had some spare time, and my family usually went on holiday to sea-side towns packed with arcades too.
For many years it was a dream of mine to own my own arcade machine. During the time they could still be found in arcades, this remained just a dream. But various changes that have taken place over the last few years allowed me to finally make it a reality. The biggest development is that of MAME, the Multiple Arcade Machine Emulator. This fantastic program allows the real arcade games of old to be played on a PC, and supports thousands of different games.
While this was always enjoyable, it still didn't match the feeling of playing them on a real arcade machine. At the beginning of 2005 I decided to try to track down the remains of an actual arcade machine, with a view to turning it into a MAME cabinet.
This turned out to be more difficult than I had expected. Over the last decade, the popularity of the arcades has gradually but steadily declined, to the point where there are hardly any "classic"-style machines left around at all. Eventually I tracked down an amusements supplier fairly near to where I live that had an old arcade cabinet that was just about perfect. It was little more than a wooden box and had been stored in a farm's hayloft for some time, but all things was considered it was in surprisingly good condition. I had it delivered to my house the next day.
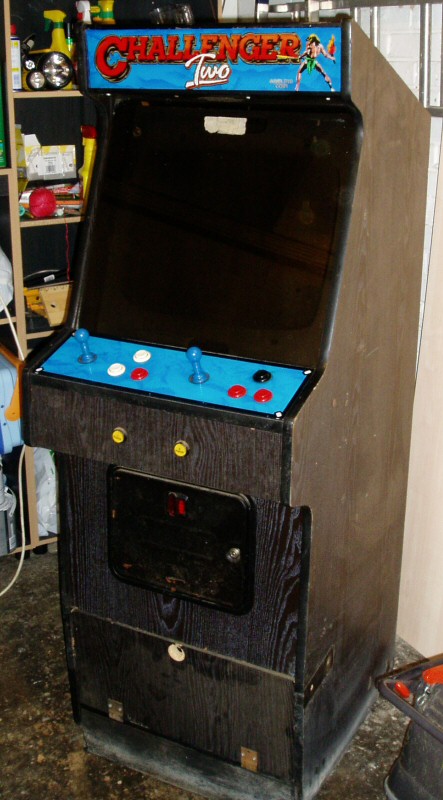
The cabinet as it was when I first got hold of it.
(Click for larger image)
The joysticks and buttons looked like they were probably working, but other than that its restoration period started out as a battered and chipped empty wooden box. It was pretty filthy and full of cobwebs and dirt. So the first task was just to clean it all up a bit. A couple of hours later it was looking much better.
The next thing I wanted to do was replace the wooden base. The one that was fitted was completely warped and rotten and looked far beyond repair. In "Scrapheap" style I replaced this using bits of wood found laying around my garage.
Replaced base frame.
Now it was time to begin the transformation into a working machine. I managed to get hold of a fairly well-specced PC and also a cheap 21" monitor which looked ideal for the job. Actually getting the monitor into the cabinet proved to be a real struggle however, mostly due to the weight of it (not helped by the fact I was constructing this on my own). It was also slightly too large to fit into the unit, as the monitor base caught on the wooden bar behind the control panel.
When Philips built this monitor, they really didn't intend for the base to be removed! I finally ended up removing it with an electric drill, a chisel and a hammer -- not things normally associated with monitor maintenance. It was quite a relief to find the monitor still worked after all that.
With the base removed the monitor was able to easily fit into the case -- though only with about 1cm to spare on each side. I built a sloping wooden base for the monitor to sit on and attached it firmly to the inside of the cabinet so that it would hold the monitor's weight. A strip of wood across the back of the shelf stops the monitor from sliding out backwards. This was all screwed and glued together for extra strength.
The monitor is fitted, running with the PC sitting on the floor behind.
It was slowly starting to feel like a real arcade machine by now, with MAME already running it felt like it was all starting to come together. I had no way to connect the controls to the PC yet though, so all I could do was watch the attract sequences. Despite this, the feeling of having my own arcade machine was already upon me.
The PC went in next. The cabinet could have been custom built for the job, it all fit in just perfectly. Behind the coin door is a shelf on which I put the PC itself, with ths space beside it available to use as a mouse mat. Underneath this is the area where the coin boxes used to be, and that's where I put the keyboard. The panel that opens up there is the full width of the cabinet, allowing easy access to the keys.
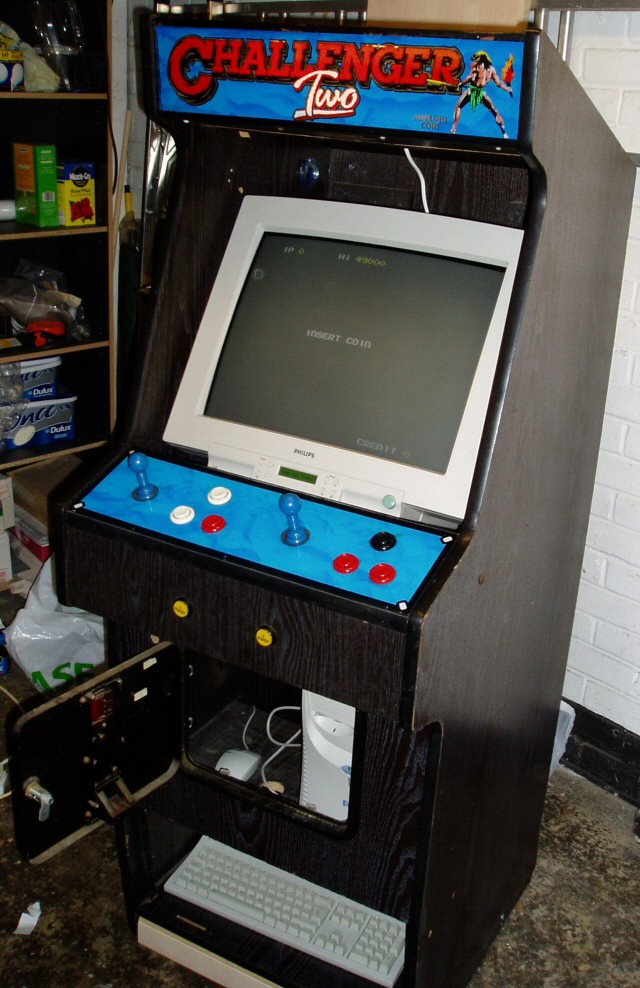
The PC, mouse and keyboard are all fitted inside the cabinet too.
It was time for some cosmetic work now. The cabinet itself was still looking pretty battered, and the pine-coloured wooden base frame looked pretty awful against the black paint of the rest of the unit, so I painted the whole thing with a delicious black gloss paint.
I also added a flourescent light behind the marquee so that it lit up when plugged in. The marquee had originally just had speakers behind it so it was a bit of a squeeze to get the light fitted, but it eventually went in. I lined the whole of the inside of the marquee frame with silver foil, which made a huge difference to the amount of light reaching the marquee panel.
The monitor is now hidden away behind a nice black bezel too. This was made from a sheet of hardboard with the shape of the monitor cut out, and then painted black. I put black insulating tape all around the edge of the monitor screen to hide the cream edges, and then fitted the bezel in front of it. This transforms the whole appearance of the cabinet, it looked nothing like a monitor in a wooden box after this.
I also added a small shelf at the back of the cabinet and attached some desktop speakers that I had bought. I was worried that the sound quality would be poor due to a combination of (a) the speakers being cheap and nasty and (b) the fact that they were positioned at the back of the cabinet, but I was pleasantly surprised with how it sounded. The sound seems to really come from inside the machine, which is nice.
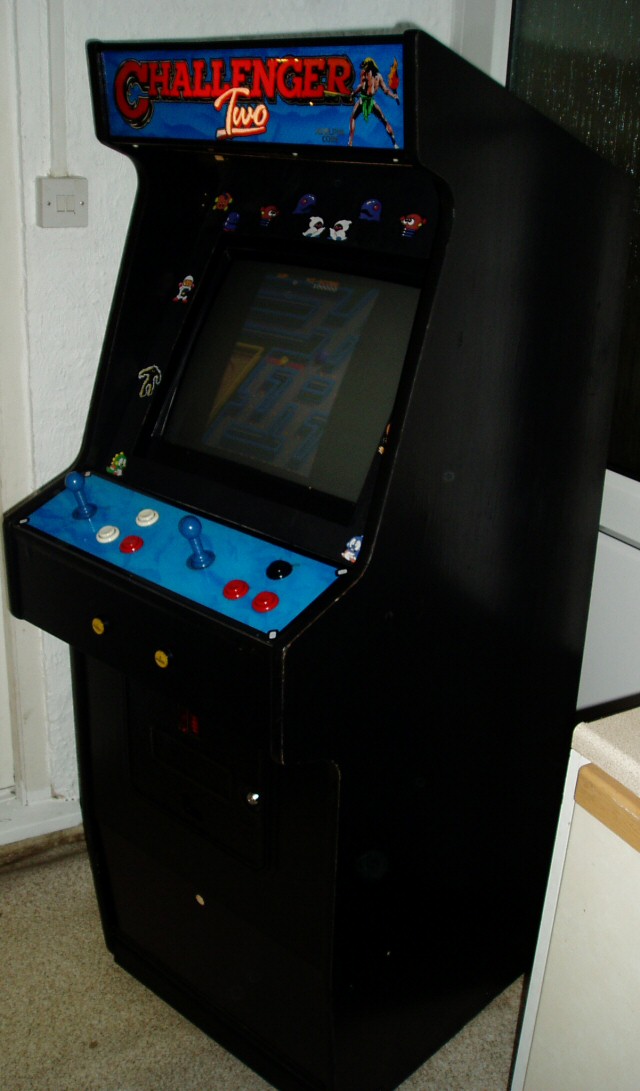
A bit of cosmetic work and it looks like new!
By this time, my I-PAC had arrived and I could finally hook all the controls up to the PC. I went with the Economy version as it seemed to do everything I needed, and I've been very happy with it. If you're not familiar with it, the I-PAC is a small circuit board which connects to your PC via the PS/2 keyboard or USB sockets. It has various terminals to which you can connect wires such that when the related microswitch is pressed a circuit is connected. This then sends a keyboard signal to the PC.
I would highly recommend this as a means of getting your control panel working. There are other options (such as the X-Arcade boards), but to me these don't have the same sense of authenticity as a real control panel. There are also cheaper copies of the I-PAC available (in particular from eBay), but the ingenious "shift" button built into the genuine I-PAC sold it to me, it lets me completely navigate the MAME menu system all from the buttons and joysticks.
I was pleased to find that all of the controls were working fine, except for just two of the buttons. Two more were purchased over the internet, and the bad ones replaced.
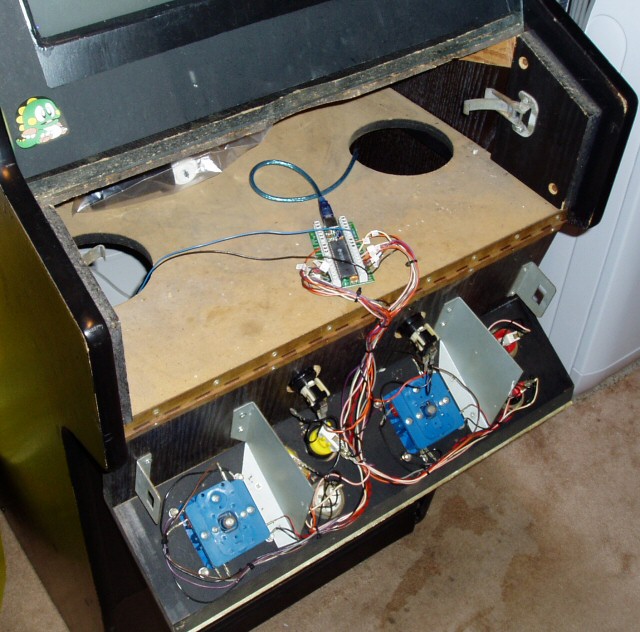
The tangle of wires that connects the control panel to the PC.
The machine was now fully working, and progress slowed to a crawl as I replayed all my favourite games from 15 years ago. I did eventually get some more done however.
I fitted a sheet of glass in front of the screen, which in my opinion is another of the things that makes it feel like a "real" cabinet. Having the glass there completely isolates the player from the internals of the cabinet. I also replaced the glass with the "Challenger Two" print with a piece of clear glass, and printed my own marquee graphic on paper to go behind it. The marquee doesn't look perfect and I'm still planning on replacing the paper with a nice piece of printed plastic, but haven't found anywhere nearby that is able to print this for me yet.
The cabinet is pretty much finished now, and I'm extremely pleased with it. It always takes people by surprise when they see it and when people realise that all the games they used to play are waiting to be played again, it never fails to bring a smile to their faces.
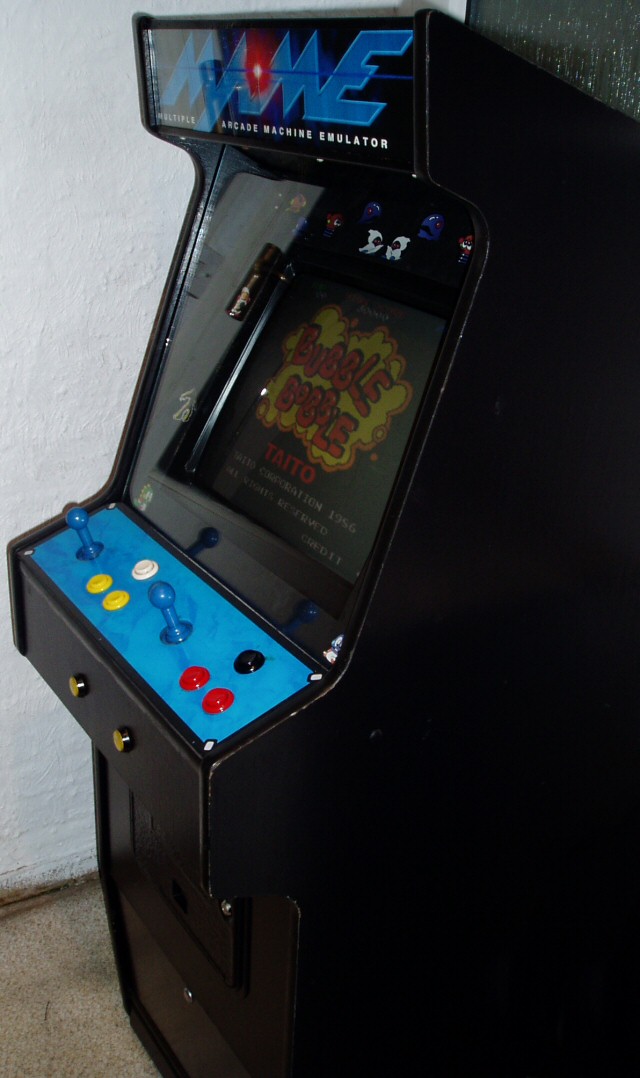
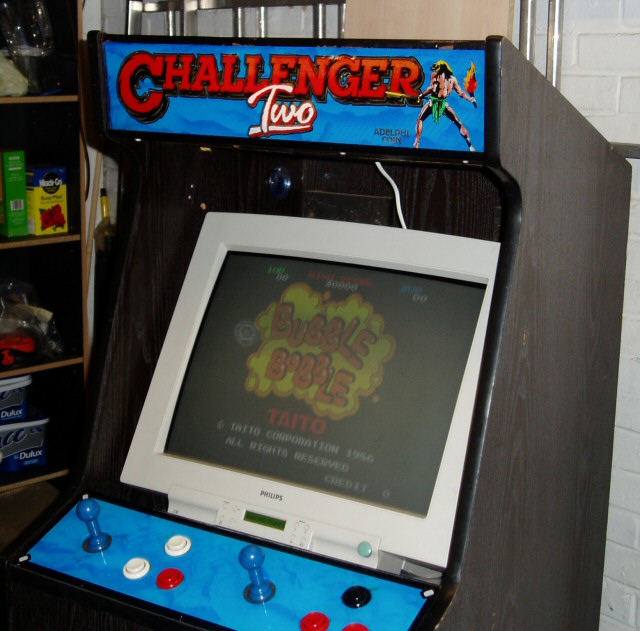
The finished cabinet.
One thing I would still like to do is add a working coin mechanism. I've experimented with "home made" solutions to this, and eventually gave up, I couldn't get the accuracy anything like as good as I wanted. I'm still hoping one day to spot a suitable coin mech on eBay, though based on my past searches it doesn't seem to be something that comes along very often. I could buy one new, but they're too expensive in my opinion for what I'd actually use it for, as it doesn't add anything to the game playing at all. In the mean-time, I've a game of Bubble Bobble that needs to be played!
If you have any comments or suggestions regarding this article, please don't hesitate to contact me.
This article is copyright © Adam Dawes,
2006.
It may not be copied or redistributed without my express written
permission.